 |
| Home |
W114 / W115 rust repair (journey with pictures) -PART II
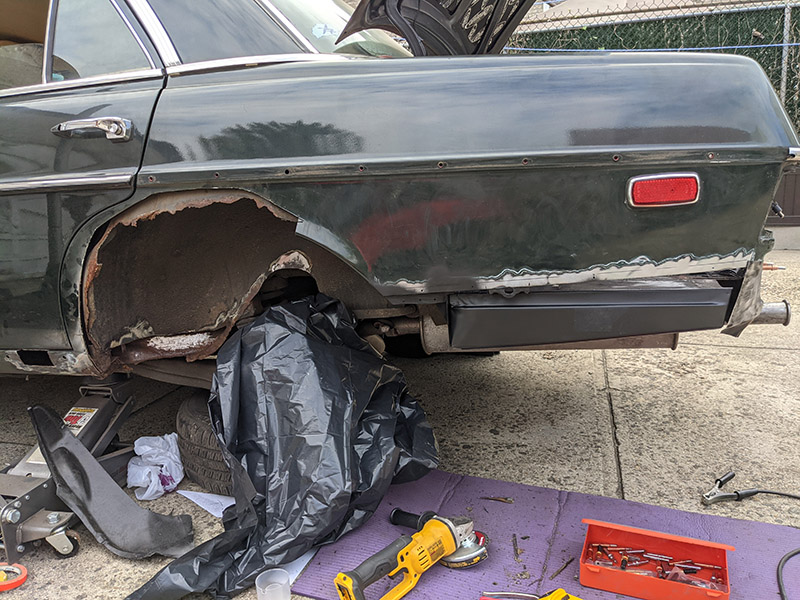
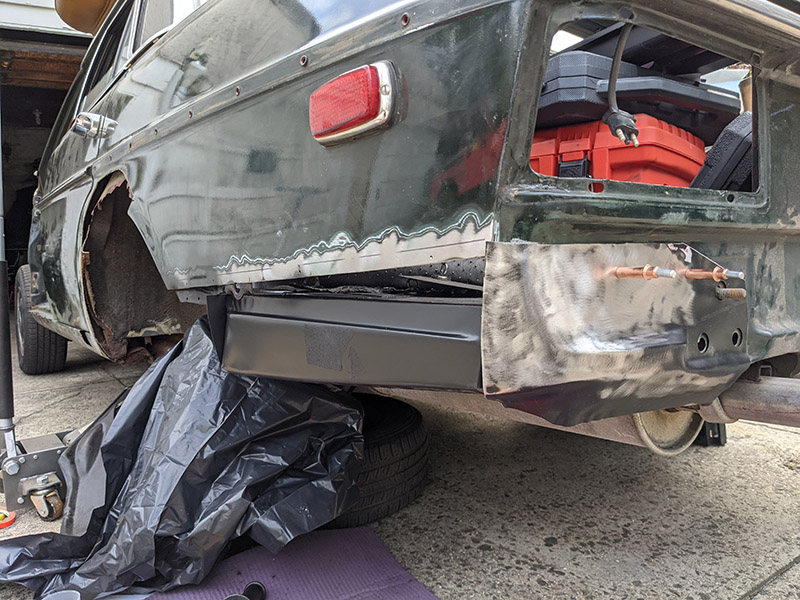
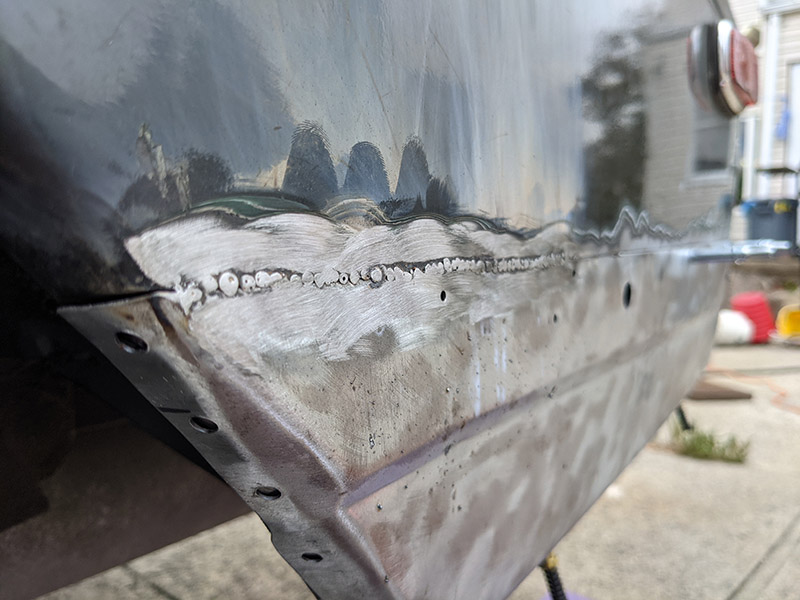
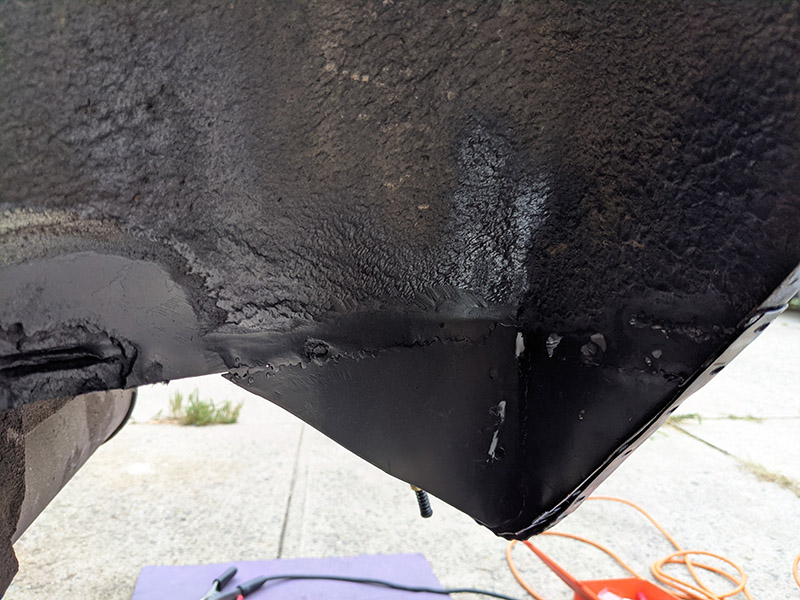
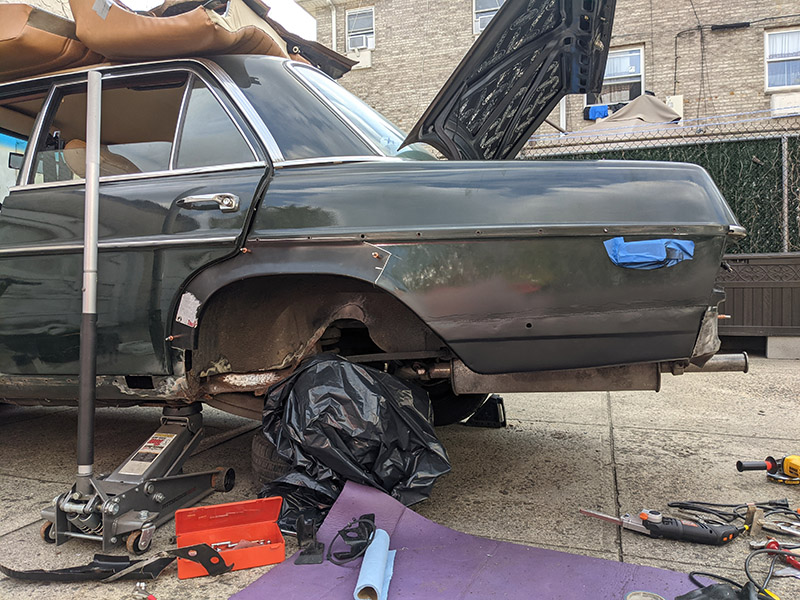
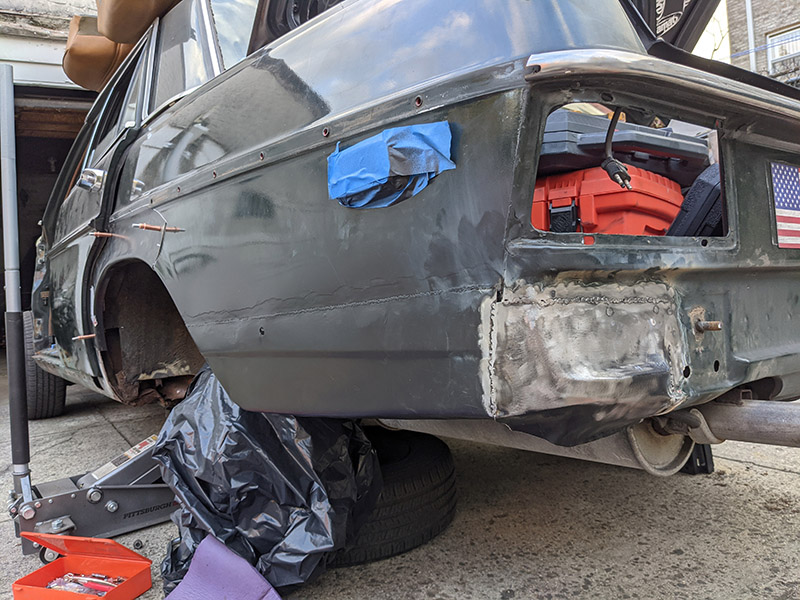
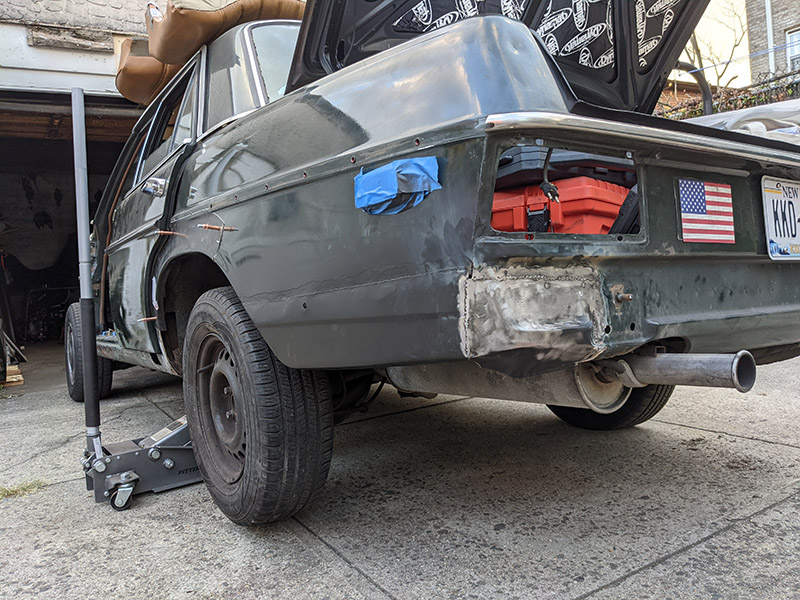
I wasn’t a total rust-repair amateur. I had previously swapped out the rusted driver’s floor (you can see those quality floors in pic 2 from Part I), so I already had a basic welder and some welding paraphernalia. The plan was to get the replacement panels from Mill Supplies, since they carry all the metal body parts I needed. Further inspection revealed even more rust. A previous repair of the lower rear panel section had started rusting through again, and the corners were getting pretty nasty. 1. Lots of rust cut out. The lower rear part of the quarter panel already has a new section welded in. You want to cut out enough rust to give yourself some space to work but not too much that you loose contours of the car. 2. Left corner being cut and fitted. Notice the Cleco fasteners temporarily holding the corner in place so we can see where the edges line up. 3. The rear left quarter panel’s lower section is welded in and joined to the support section from the trunk (the black part from pic 2). The paint was removed to give us a clean surface to weld. The part is spot-welded to avoid burning through the thin metal of the patch panel. Notice the holes at the bottom for a lap weld (a lap weld is when one piece of metal overlaps another). Back of the repair. You’ll want to paint any bare metal as soon as possible to prevent flash rusting. The welds should be sealed with seam sealer soon after the paint dries. 4. Rear lower section finished. Notice me test-fitting the wheel arch panel. The corner is welded in. Notice the plastic bag protecting the rotor, brake calipers, and suspension parts from all the metal dust. Also note the tire positioned right under the lower control arm in case the jack were to give out—an important safety precaution.
|
| copyright 2019 by Patryk Rebisz |