 |
| Home |
Vacuum pump diaphragms replacement
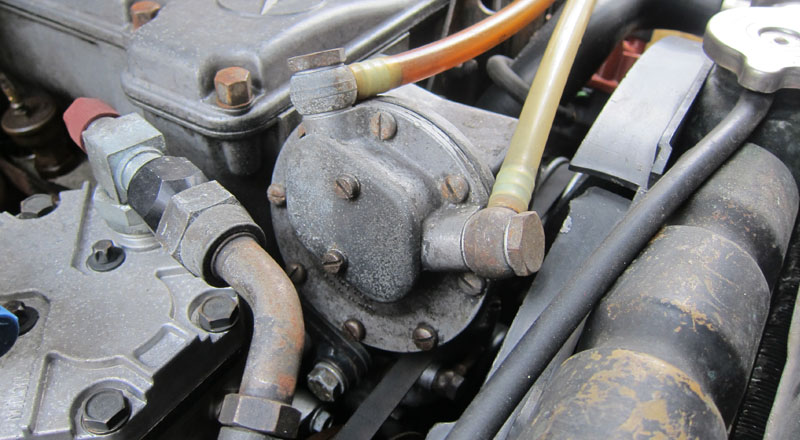
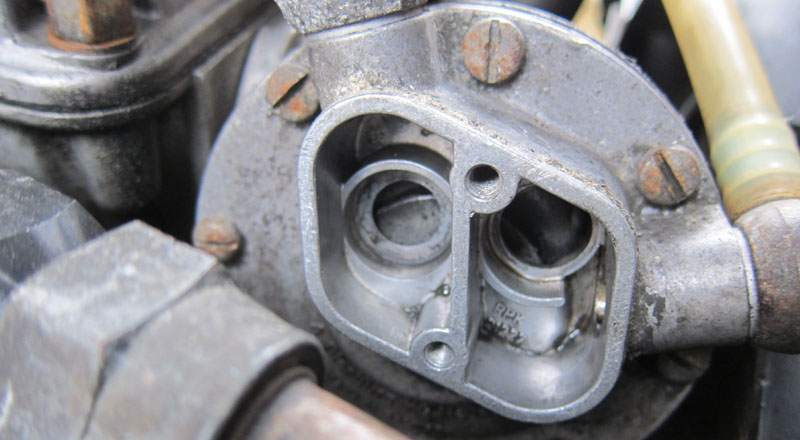
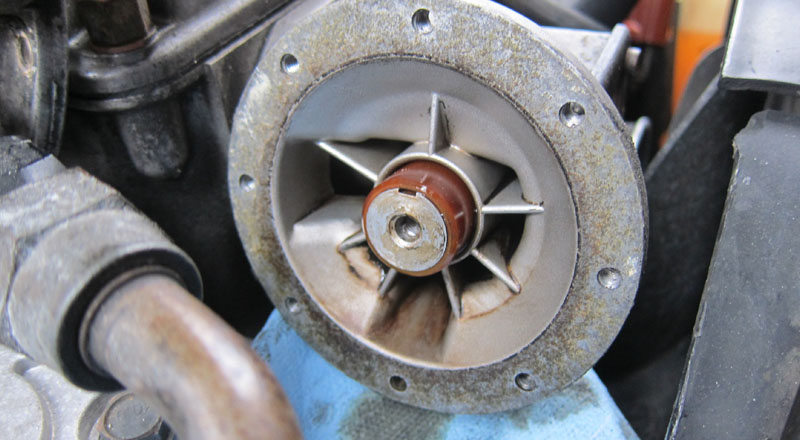
The vacuum pump was installed on US versions and low-compression versions of the M110 engine. It was designed to supplement manifold vacuum, especially under situations related to a panic stop, because Mercedes engineers believed that the intake manifold simply could not produce enough of vacuum, especially at high engine speeds, to supply the brake booster. Your vacuum pump act as a vacuum amplifier that uses the little vacuum that the intake manifold generates and increases it using a diaphragm type plunger. Sometimes the diaphragm tears. The replacement is relatively easy and if you are the type that wants to know what is involved, here is the break down with pictures. Here is our patient:
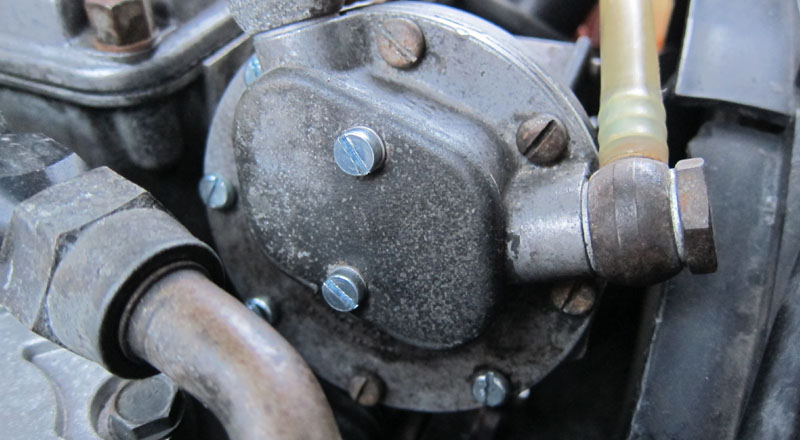
After unscrewing the two screws and a tap on the housing to shake up the seal we find two springs and two valves (notice some oil accumulation):
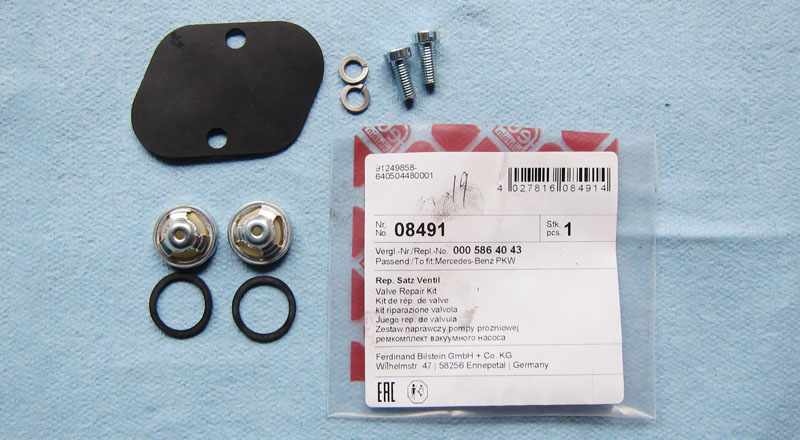
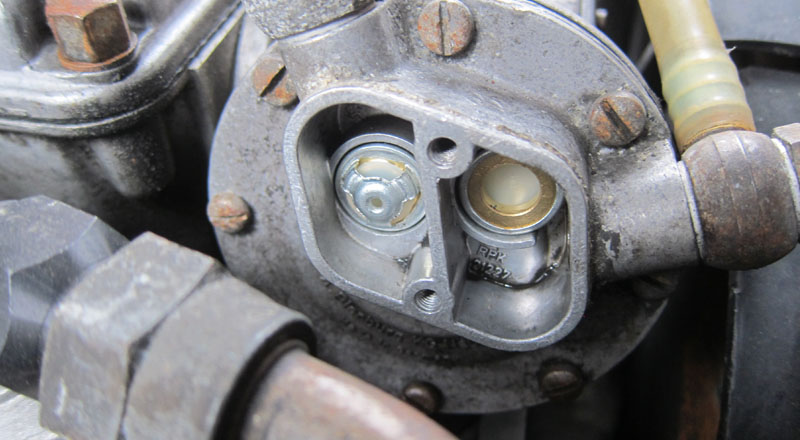
Little clean up and the housing is ready for the new valves from the rebuild kit:
Since this fix is done on a pump still attached to the engine it might be little hard keeping components stay in place. Little synthetic grease will keep the gasket and the valves sticking to the housing. Use the old diaphragm to mark a new one where the springs should touch to help in alignment. Synthetic grease trick is used to keep the new diaphragm sticking to the cover plate then carefully place the springs inside the housing and tighten the two bolts.
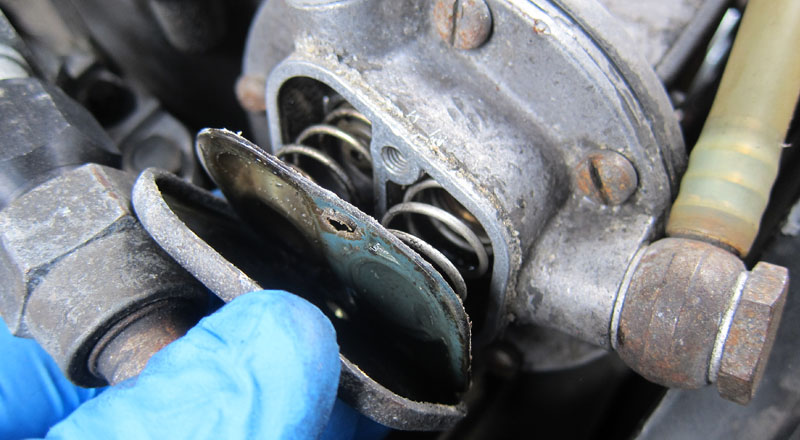
Move on to the rubber diaphragm inside the pump itself:
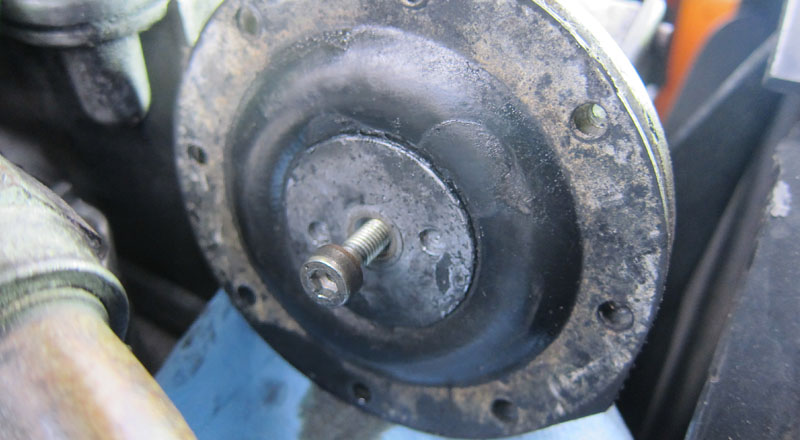
After you unscrew eight screws you might need to use some force to separate the old rubber from the aluminum components. Inside you find this (the rubber mounting screw is already partially unscrewed):
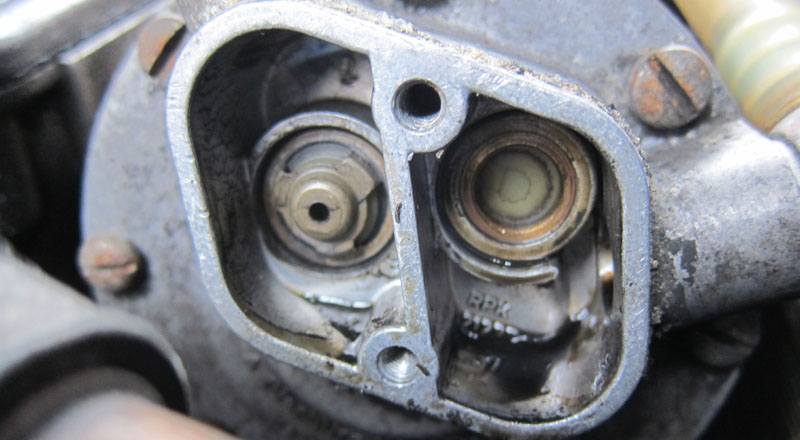
And the piston under the diaphragm:
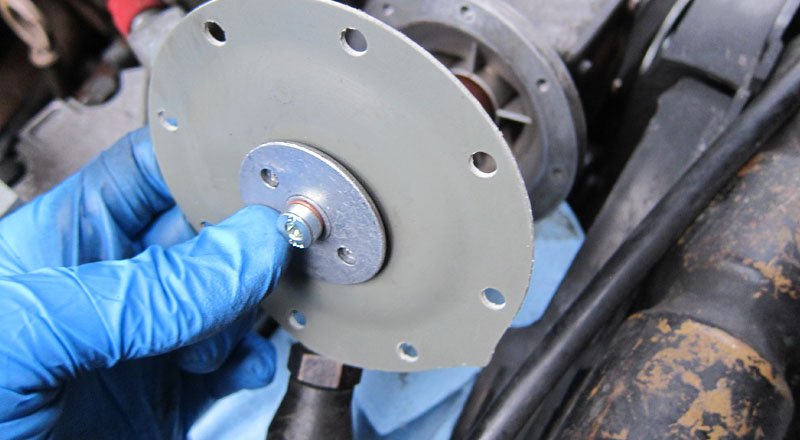
Clean the matting edges of the housing with some fine sand paper then reuse old alan bolt (new one is a few millimiters longer). Put on a cooper washer, then rubber washer, then metal disk, then rubber, then larger metal disk. Make sure the metal disks face the round sides towards the rubber.
Carefully tighten the alan bolt (put some blue locktite on it) making sure the rubber holes align with the housing the screw in the housing - notice how for whatever reason they only provide 4 replacement bolts.
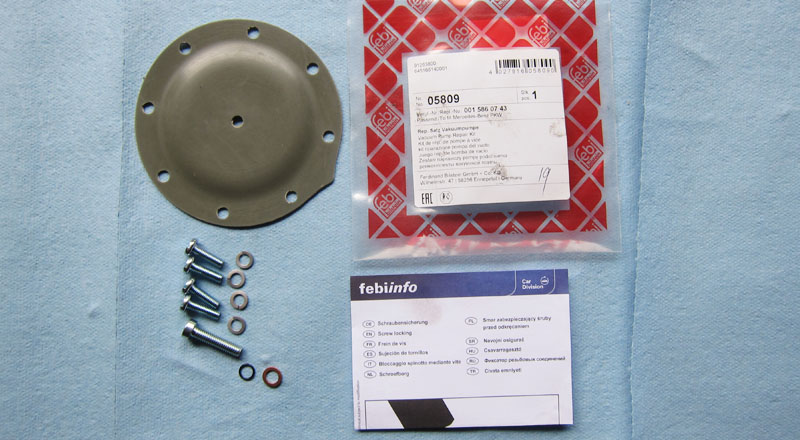
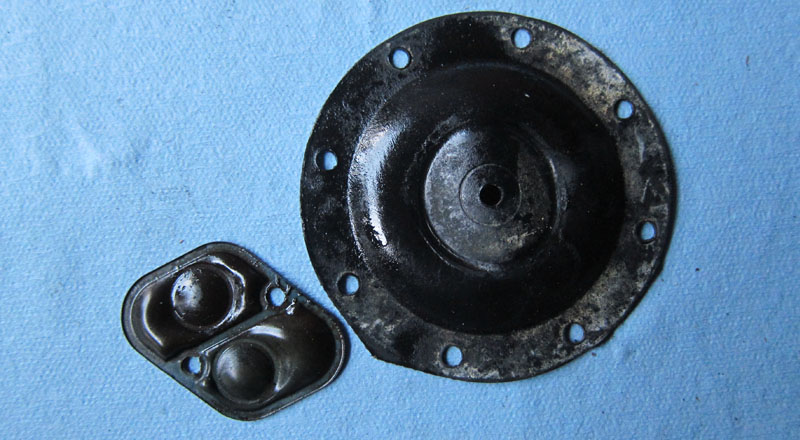
As a bonus, here is what old diaphragms looked like:
|
| copyright 2019 by Patryk Rebisz |